Timm's BMW E31 840i M60 Water Pump
Viscous Fan Replacement
The following procedure has been written and photographed by
Mick Cat (mcat911) - Thanks!
After reading on the forums about the potential for old cooling fans disintegrating and attempting to break out through the bonnet, I decided that some intervention was necessary. May as well do the viscous coupling and the water pump while I’m at it then. I didn’t know how old any of these components were on my 840, but they had seen better days. Visually, there was nothing wrong with any of these parts; however they appeared to have certainly done some miles
So what you’ll need is:
WD40
10mm & 13mm Sockets
A variety of socket extensions
10mm spanner with a ratchet on one end (10mm)
Big Screw Driver or fan tool
32mm viscous coupling spanner
Big Hammer
Vaseline (or silicone grease) to lube the O rings
A few firm taps on the
32mm spanner allowed the fan to be unscrewed fairly easily (clockwise). Not a
lot of room at the moment. Note: Using a forged spanner with a wider
cross-section makes breaking the nut simpler and removes the need to hold the
pulley still.
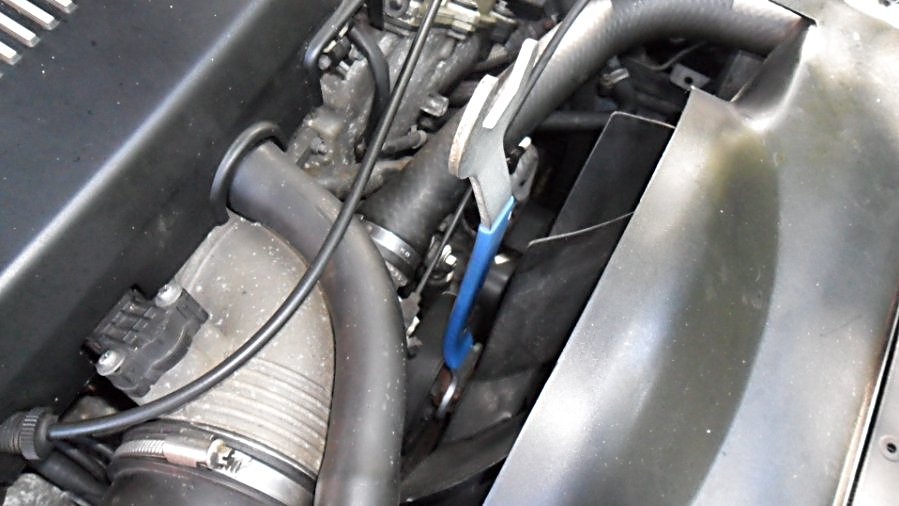
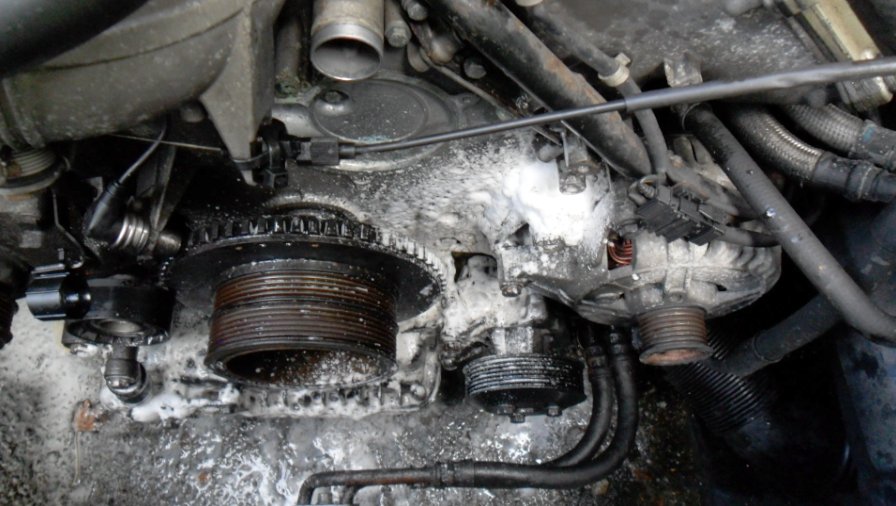
Had to stop the pulley
spinning while trying to crack the nut and wondering how I was going to get the
pump out of the limited space.
Fan is off! Easier than anticipated, but I think I was lucky this time.

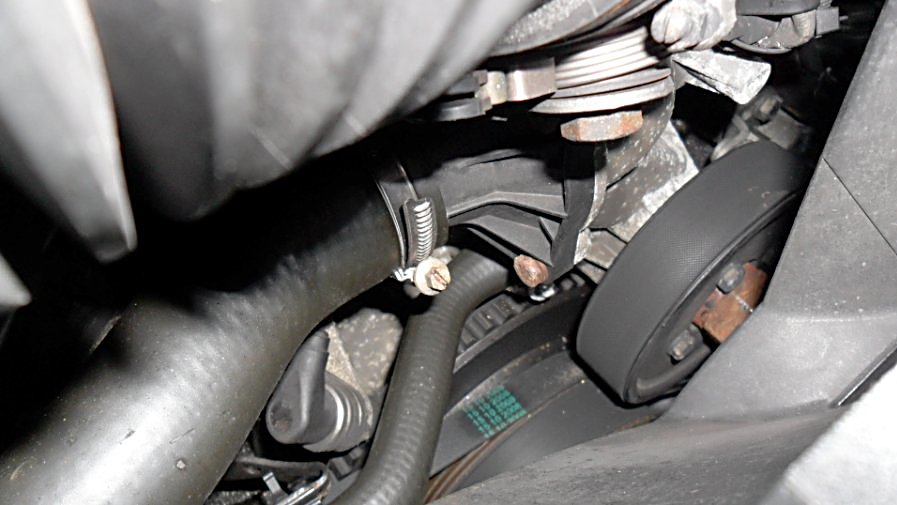
Loosen the belt tensioner
– 13mm socket. You need to take the belt off and also make room for the very
lowest bolt on the pump.

Take the belt off (after
trying to memorise the route around the pulleys)

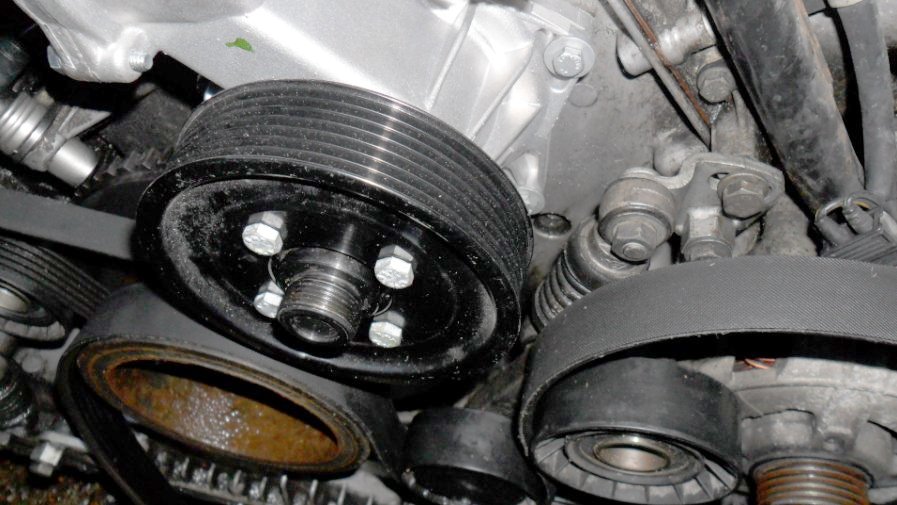
Take off the three hoses going into the water pump. Remove the pulley on the front of the pump, – 10mm socket
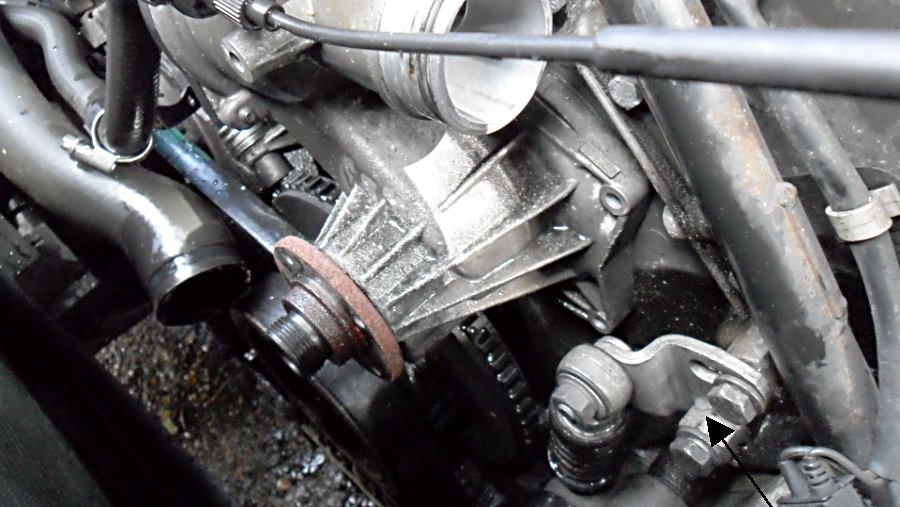
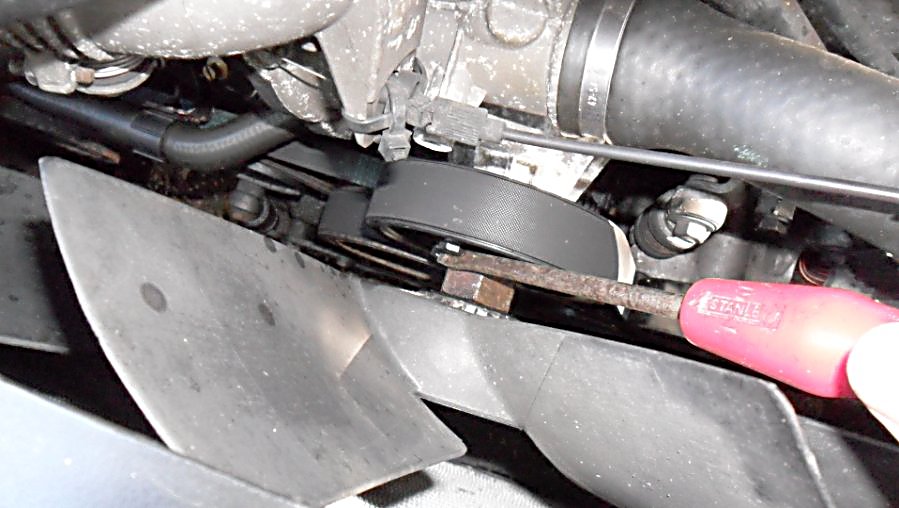
I removed the belt
tensioner for better access to the very bottom bolt in the end

One of the two long bolts holding on the water pump. They are situated roughly at the 12 o’clock and 8/9 o’clock positions. The other four bolts are much shorter and fairly easy to access except the one at the very bottom of the pump, as it sits behind the bottom pulley and is difficult to get to. 10mm ratchet spanner did the trick there.
Halfway through unbolting the pump, it became apparent that I would also need to take off the radiator shroud for much better access.
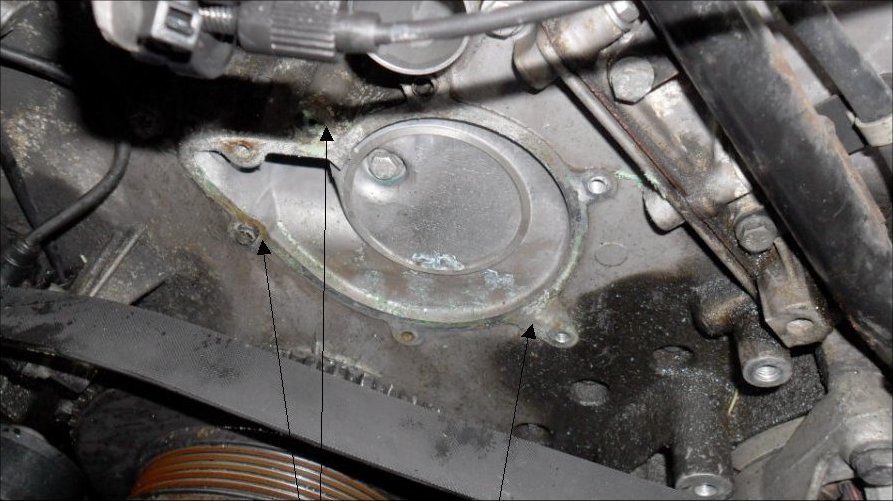
Pump came off after a
little tug and twist. Clean the face and get rid of the old gasket residue
especially around the two dowels (long bolts situated there).
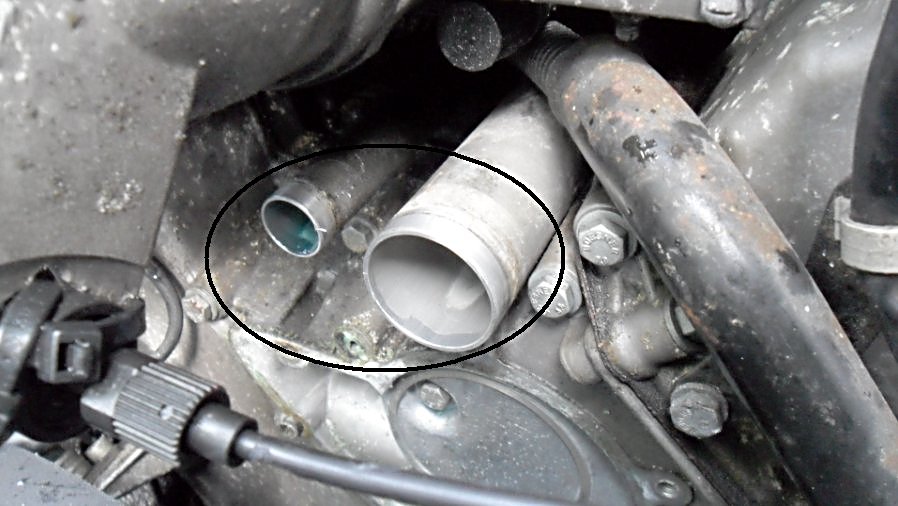
Be very careful not to
pull these two pipes out as it’s a lot of work to put them and new ‘O’ rings
back into their location at the back of the engine. With the pump off, they’re
fairly mobile.
Opportunity to degrease and look for clues to new jobs for the growing list
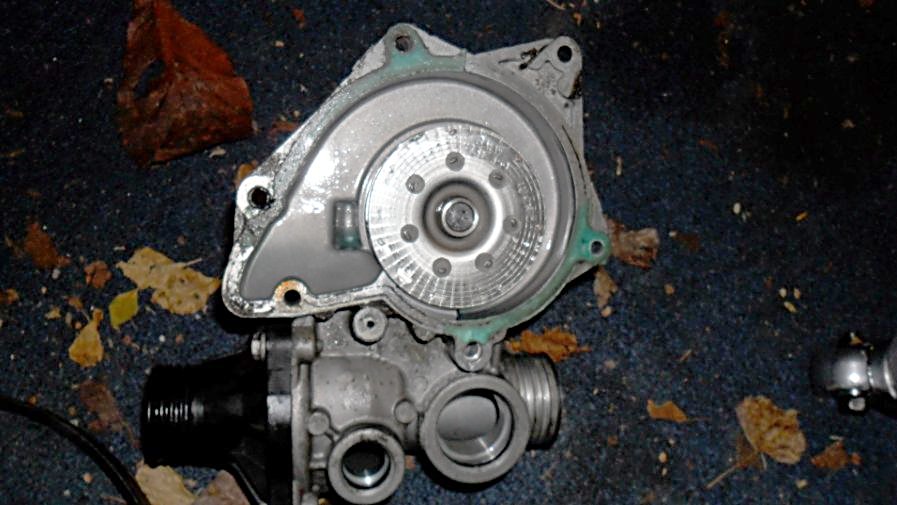
The old pump, surprised to
see a metal impeller (the original plastic impellers fail), maybe the original
pump was also changed previously.
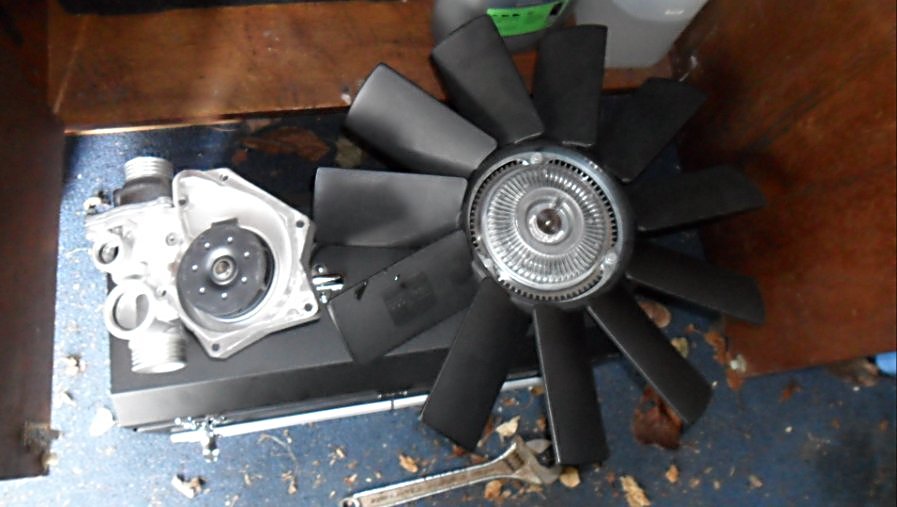
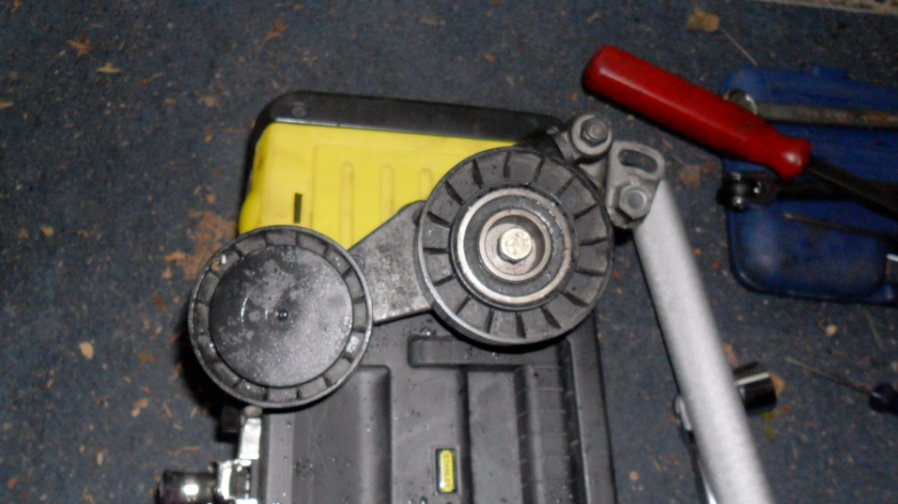
New pump, thermostat,
viscous coupling and 11 blade fan about to be fitted
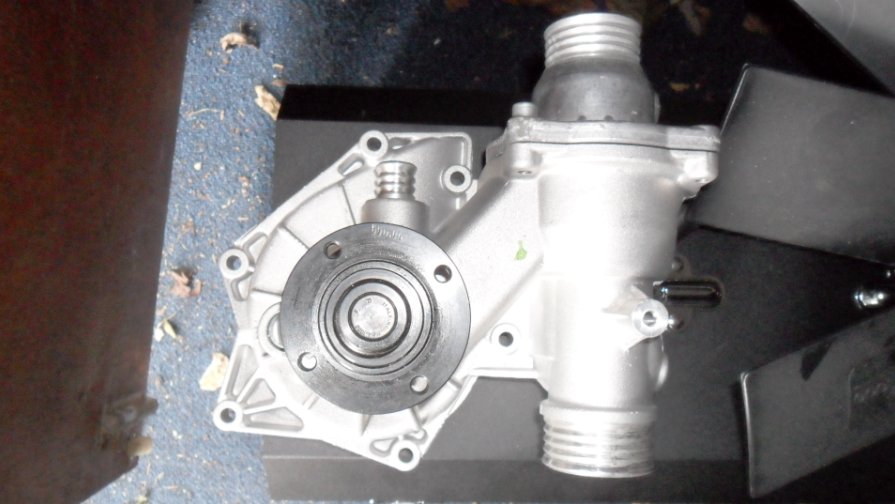
Fit your new thermostat onto the pump, ensuring that the ‘O’ ring is in place.
Smear a little Vaseline onto the face of the pump and put your new gasket on. The Vaseline will hold it in place whilst you line up the dowels and holes. Insert all of your bolts and hand tighten, then tighten up in a clockwise fashion. Be careful here as you don’t want to strip the threads in the engine casing.
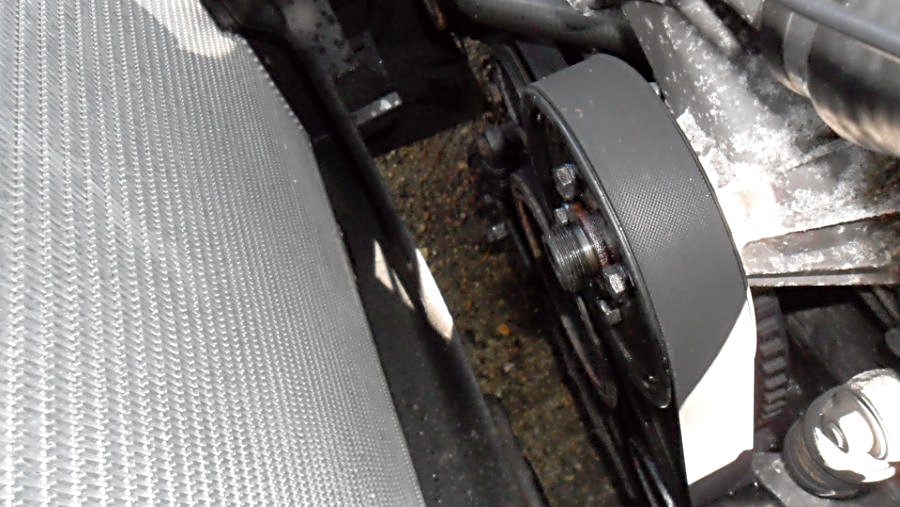
Now fit the new pulley onto the pump spindle. At this point, put belts back on and refit your belt tensioner, and recheck all bolts and fixings. You don’t want all of your hard work undone. Reinstall radiator shroud and hoses. Make sure that your fan shroud is situated properly and does not contact the fan. If it’s loose, it may hit the fan whilst the car is in motion.
Finally screw on viscous coupling with fan already attached and tighten. Help from the hammer to ensure a tight fit. Refill the cooling system with antifreeze and deionised water and check for leaks, particularly around the pump.
Make sure nothing has been left to foul the belts or the fan, then start the engine and listen..
I let it run for a few minutes until all air was bled from the system. I then went for a short drive and checked that coolant temperature was normal. Once back, I left it to cool down a little and then rechecked levels and topped up as necessary.
![]()
