Timm's One-Hour Alloy Wheel Kerb Rash Removal
Not Again ! I hate kerbing my alloys, I don't do it often but when I do I seem to make an awful mess of
them. Just a little bit too close to the kerb while doing 1 MPH and scrunch - blast!
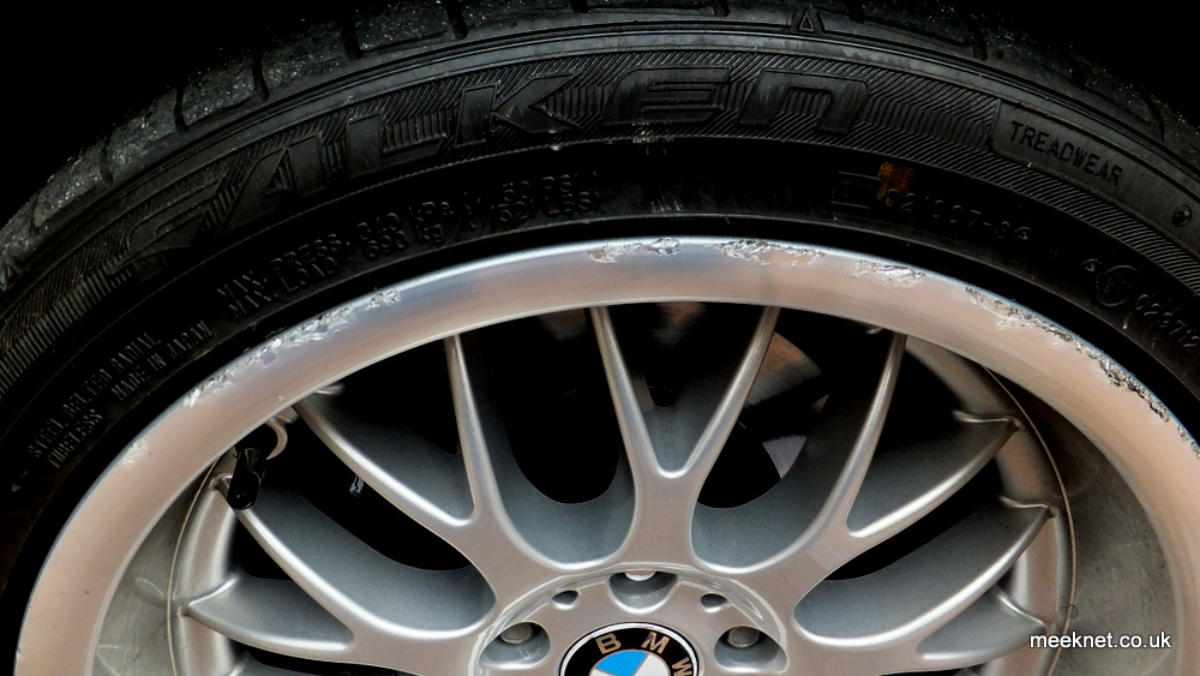
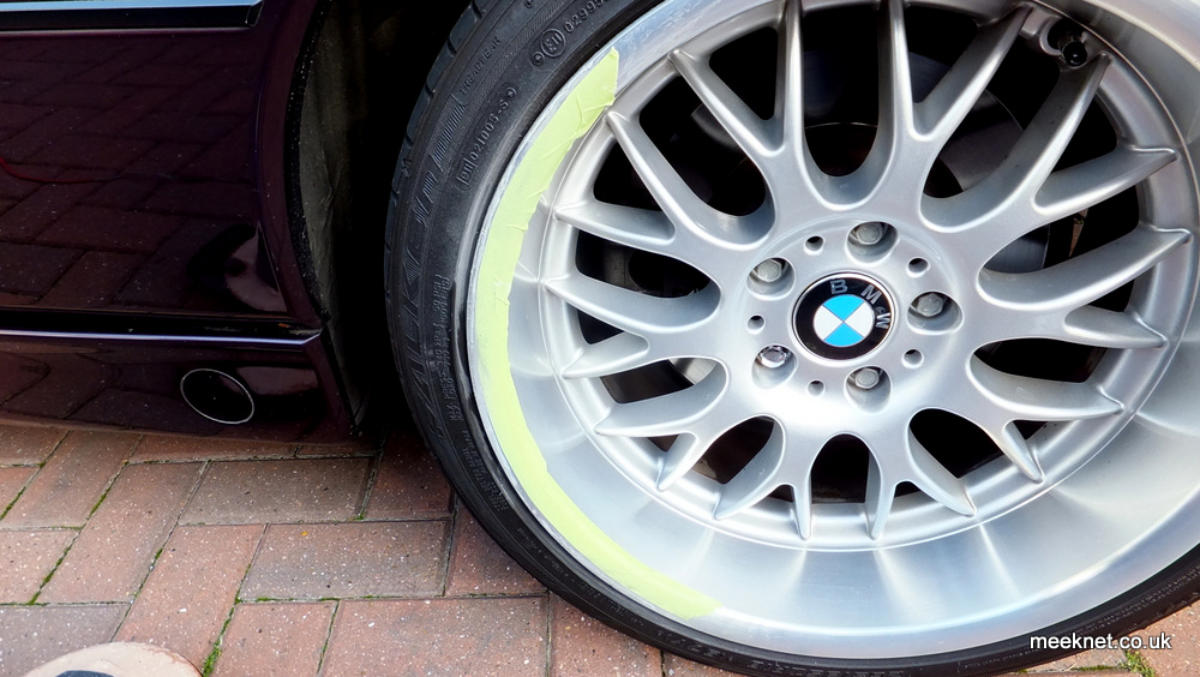
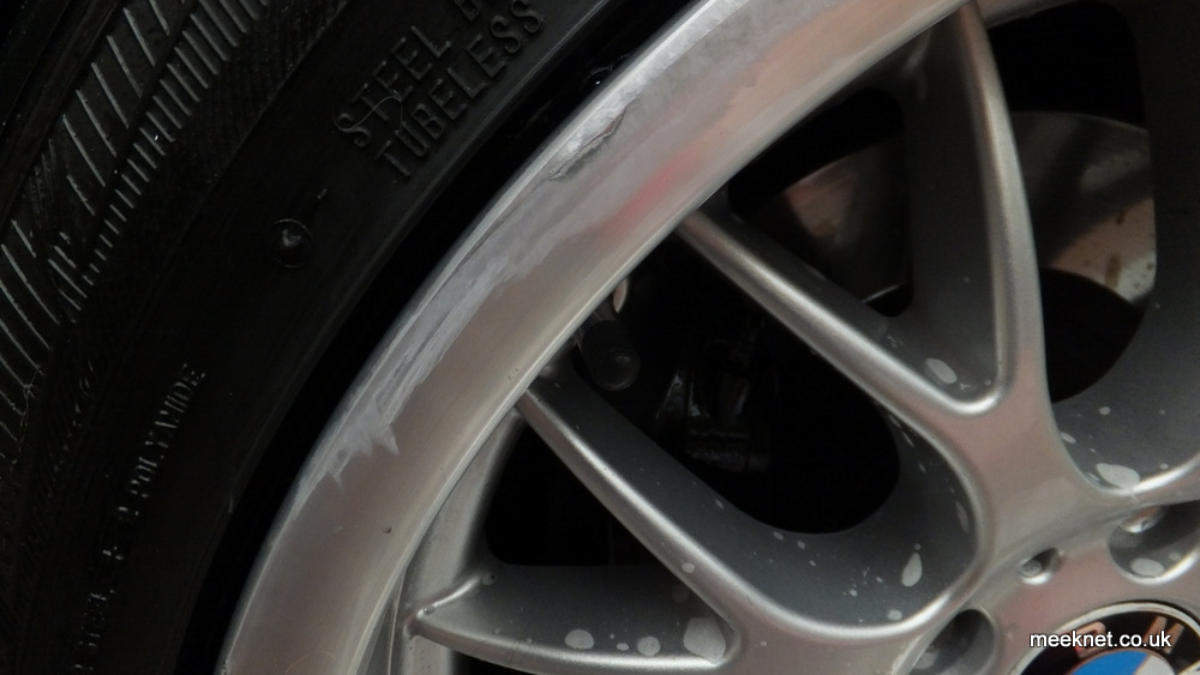
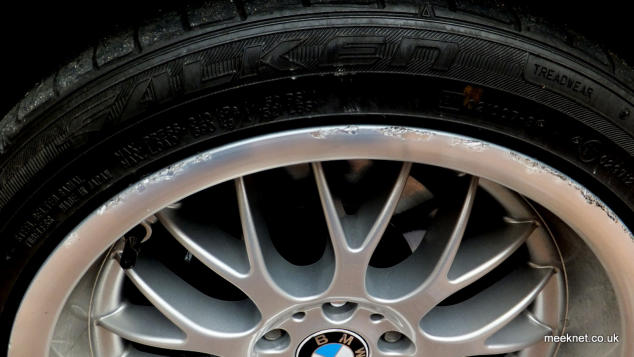
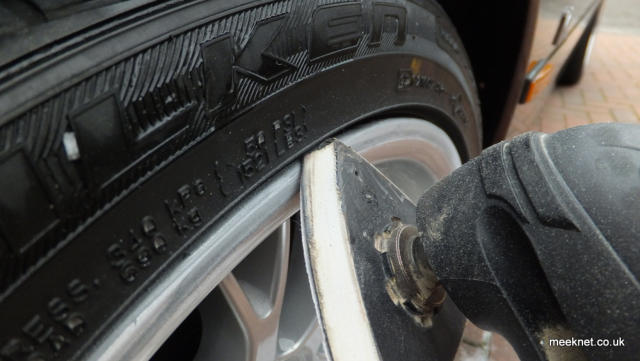
Look at the state of that! A close look when I got home showed all sorts of damage, the lacquer is flaking off and the metal of the rim is seriously
scrunched. I could get it refurbished, but I worry that it will end up looking different to the rest - so, I'm having a stab at a temporary fix until they all
need doing.
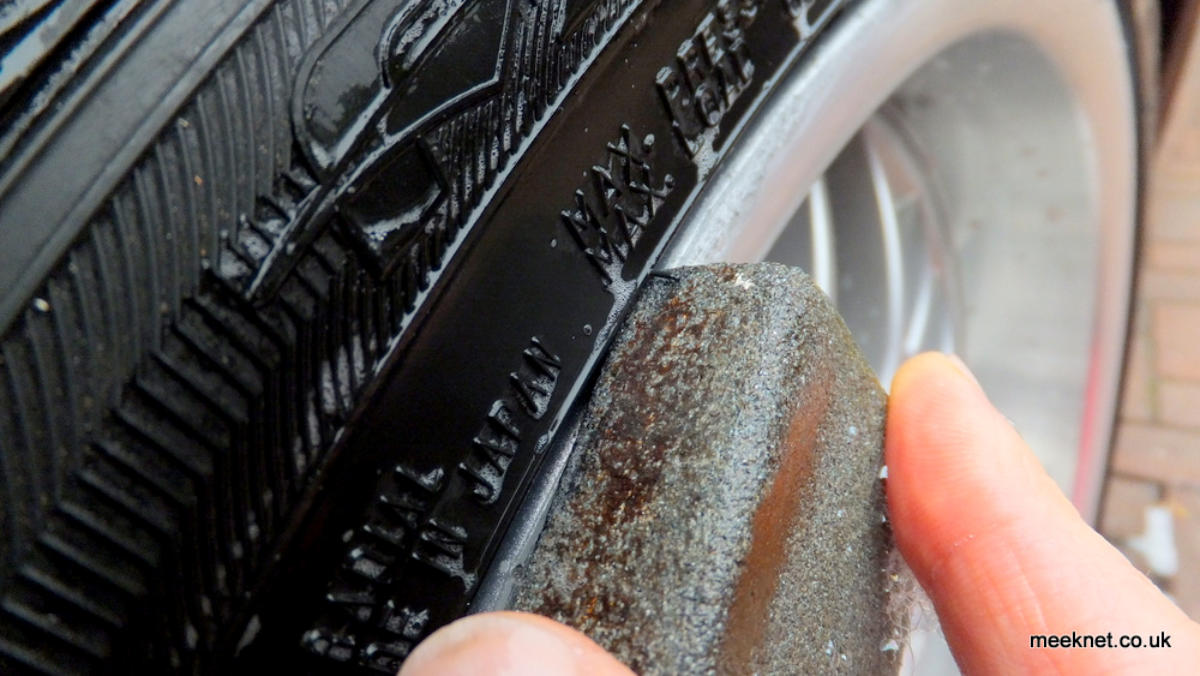
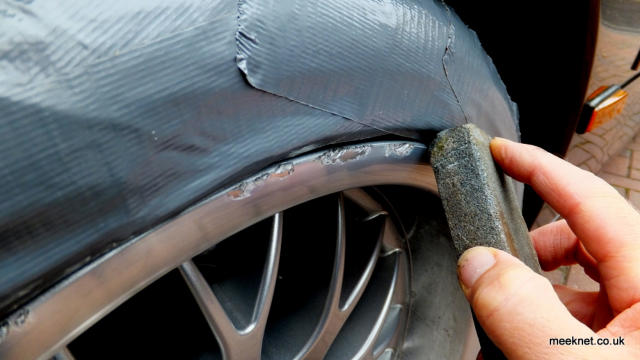
But, we are going to start with a Whetstone - these are available in various grades and this one is big, and very coarse:
The handy thing about Whetstones is that they wear quite quickly - and that means that they end up sculpted to the shape of the alloy after a few rubs
and that helps get the shape of the alloy rim back. Here we go, to keep the stone lubricated I've got a bucket of water with washing-up liquid in it - this
also helps remove debris:
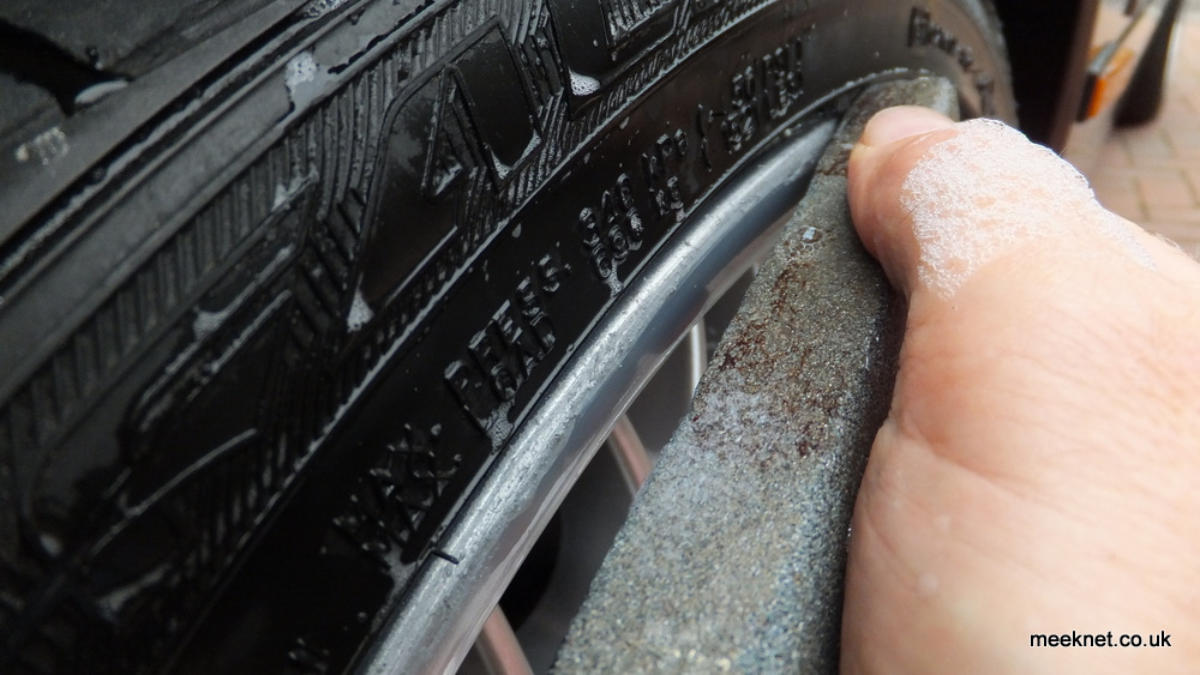
I started by masking off the tyre, but soon gave up with that when it kept falling off. Initially, the stone is used to remove the big flakes so that the
surface will allow the stone to move smoothly around the edge of the rim rather than clouting into lumps of alloy.
If you only have small gouges, use the masking tape from the headlight kit to protect the rest of the rim as seen below:
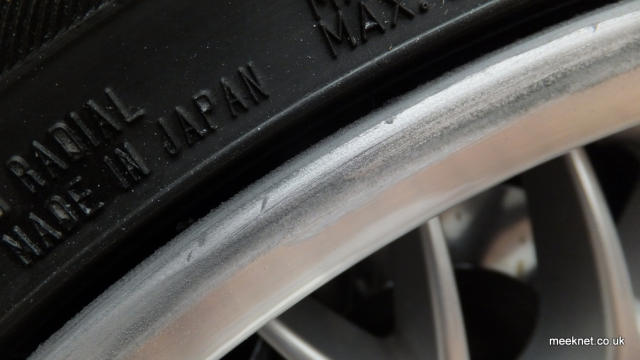
Once the big lumps have gone I used the wetted stone around the rim and slowly the stone took up the shape of the rim:
I kept the stone lubricated and wet all the time and just worked around the damaged part of the rim until it was reasonably flat.
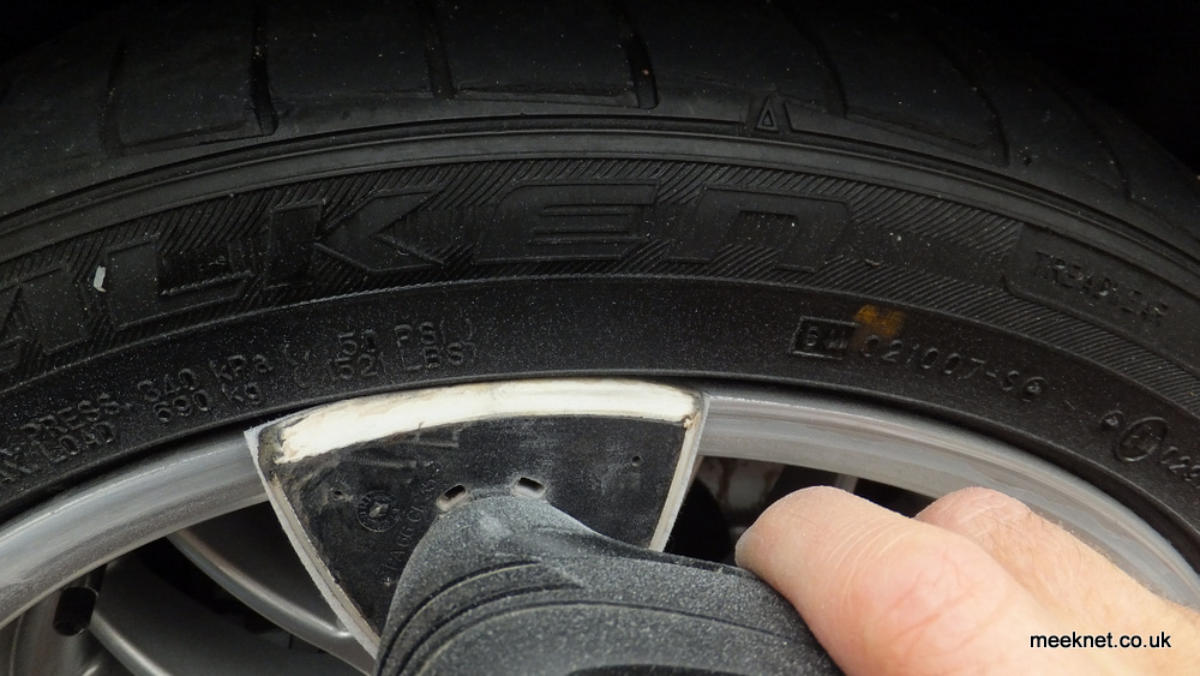
I've taken quite a lot of metal off, but it only took five minutes with the Whetstone. The rim still has a few marks - the last time I did this I was so glad I
had got this far that I didn't try and get rid of them - but this time I'm going to use a reciprocating sander - this is probably the only use I've found for it
so far, it is absolutely useless at most things:
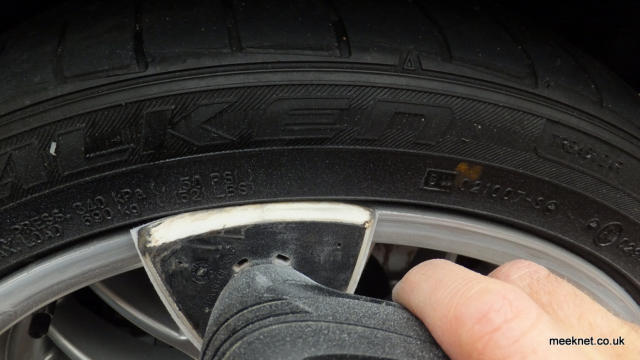
I'm using quite a coarse paper, probably 200 grit - but I'm also using a little water and lubricant. It is an excellent tool for getting right to the edge of
the rim - the end result was very flat face and edge of the rim, just what was needed. The next stage is get a bit of shine back on the face as any
slight brush with the reciprocating tool really scoured it up:
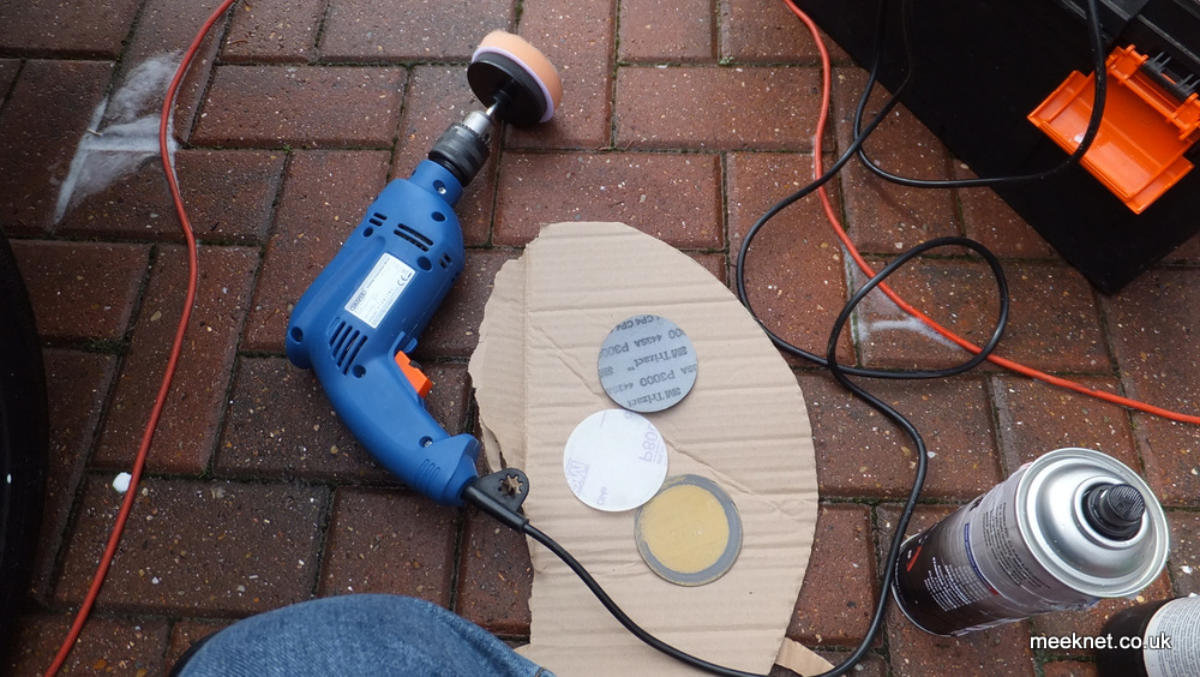
Now it is time to use the headlight polishing kit - the kit is cheap, available anywhere and contains various abrasive pads, 400, 800, 3000 grit and a
polishing pad. I'm using a 3M kit from Ebay
So, start off with the 800-grade paper (the white one above), no need for the coarser pad as the reciprocating tool got rid of all the tiny gouges - we are
now just interested in polishing the rim back from dull grey. I'm using a mains-powered drill for this, the battery ones are just too slow for polishing. The
real transition happens when the Trizact pad (3000 grit) is used - everything ends up polished, in fact, the metal ends up just a bit too shiny and makes
the transition point noticeable:
The last pad is the foam pad, this is used with the polishing compound which goes absolutely everywhere - all over the car, your face, and
everything within 20 yards. The pad is soft and can be used over the complete rim of the alloy as it only adds polish and doesn't remove any metal.
The pad will get black from the alloy so give it a wash now and again.
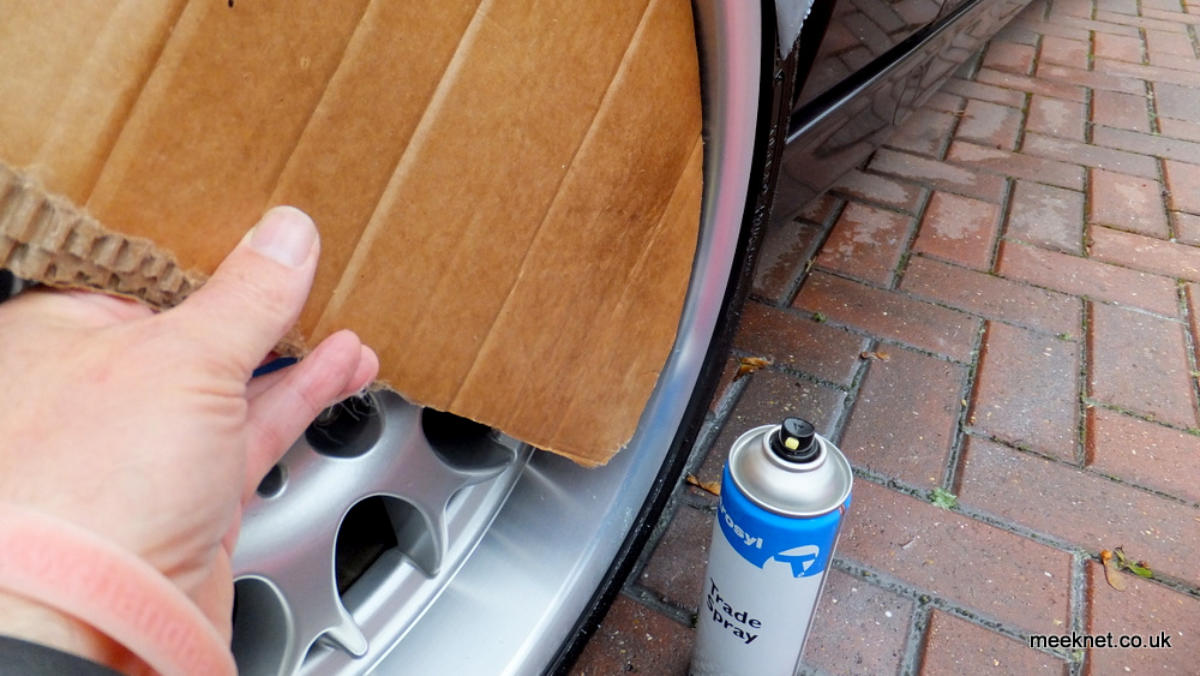
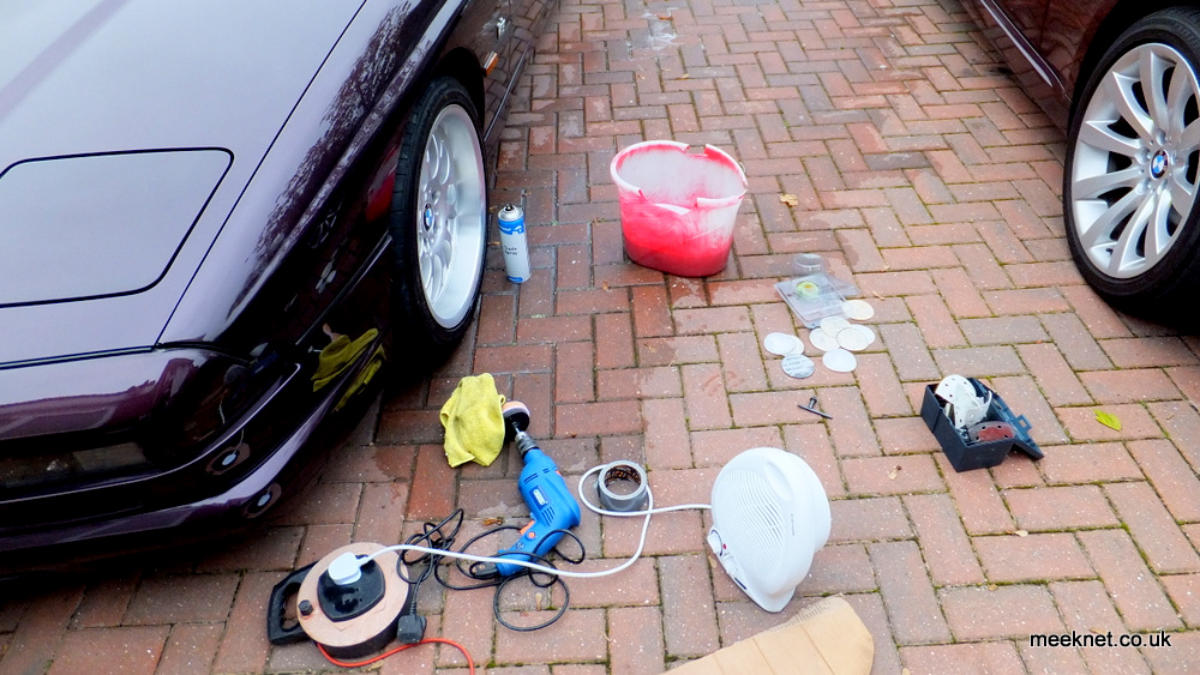
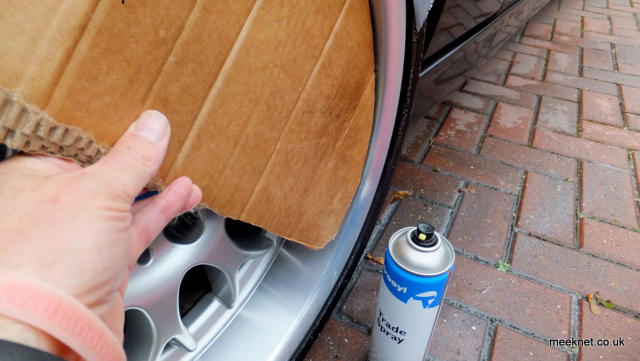
Once the rim is as good as it is going to get, it is time to add some protection and a little texture with some lacquer. As it is a cold day I have
heated up the aerosol in the kitchen sink with some hot water - and I've got a fan heater to warm the rim up and to speed up the drying time so
that I can get three coats of lacquer within my allotted 1-hour time
Above is the usual mess I generate whenever I do any work, the picture does not do the mess justice, the 650i on the right is covered with blobs of
polish including the soft-top, and that's not going to be easy to clean! Anyway, using the fan-heater I managed to get three coats done in around 10
minutes - so, all done!
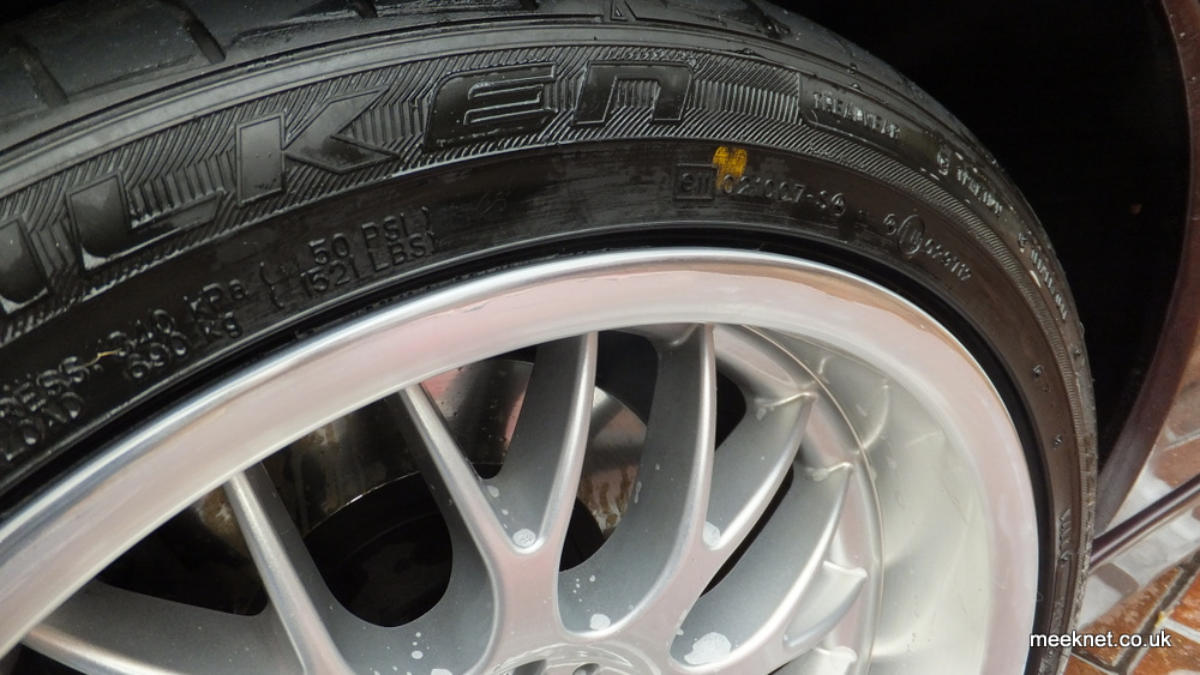
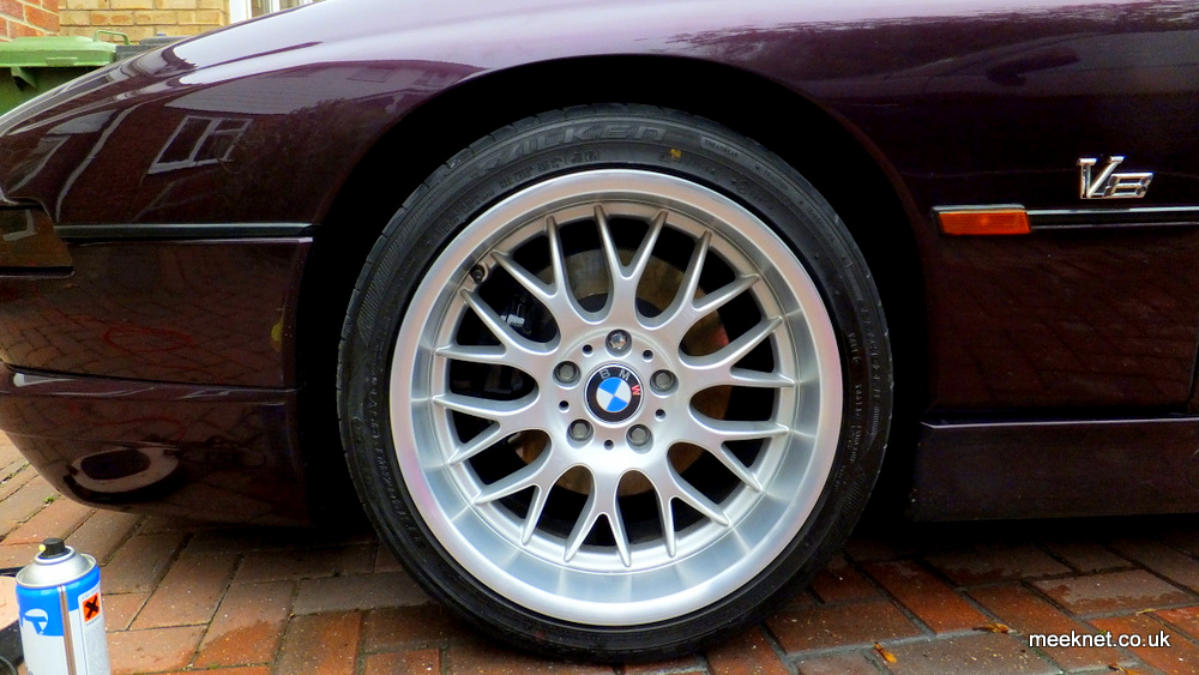
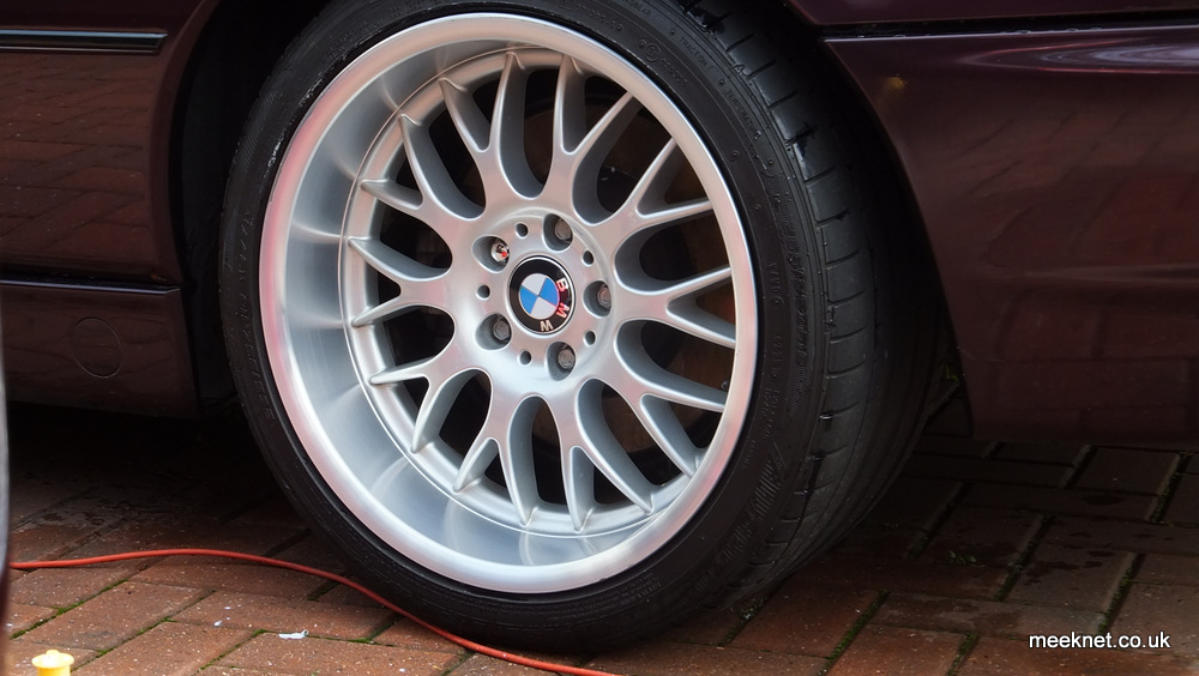
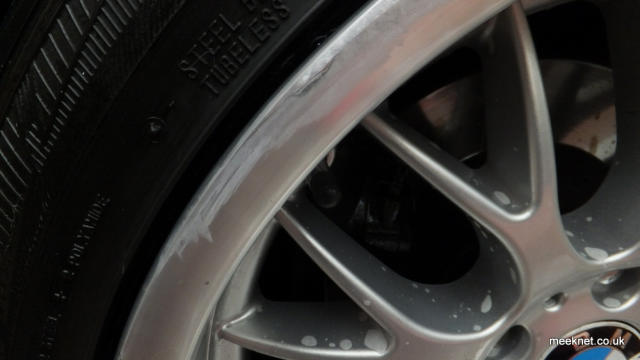
And that's it, done, and not too shabby if I say so myself. It is not absolutely perfect, but the rim polishing really hides the
imperfections well - and that's the trick to this - get the rim polished to a mirror shine. The lacquer helps dull the rim so that it
matches the rest of the alloy. And, all done within an hour! Below is the rear I did last time:
All done, time for a cup of tea
Update 2018 - 3 years later - still looking just as good, no need for a refurbish
Tools used in this article listed below:
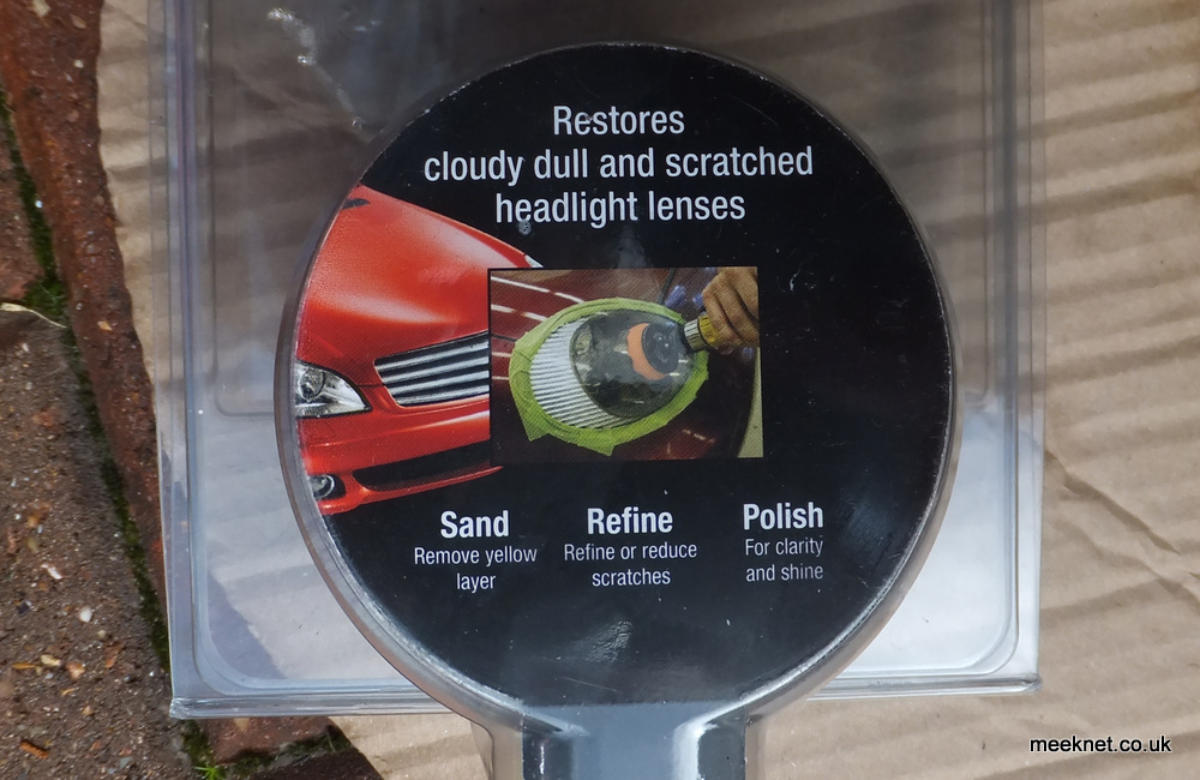


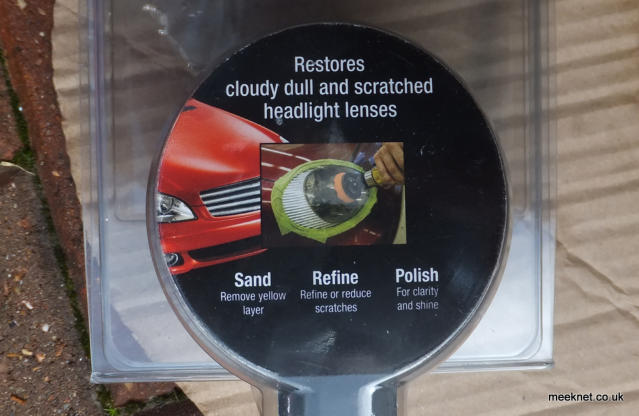
I've done this once before and it worked out OK, not perfect but close enough, I'm aiming to get it a bit better than last time. My secret weapon is a plastic
headlight refurbishing kit - yes, really!


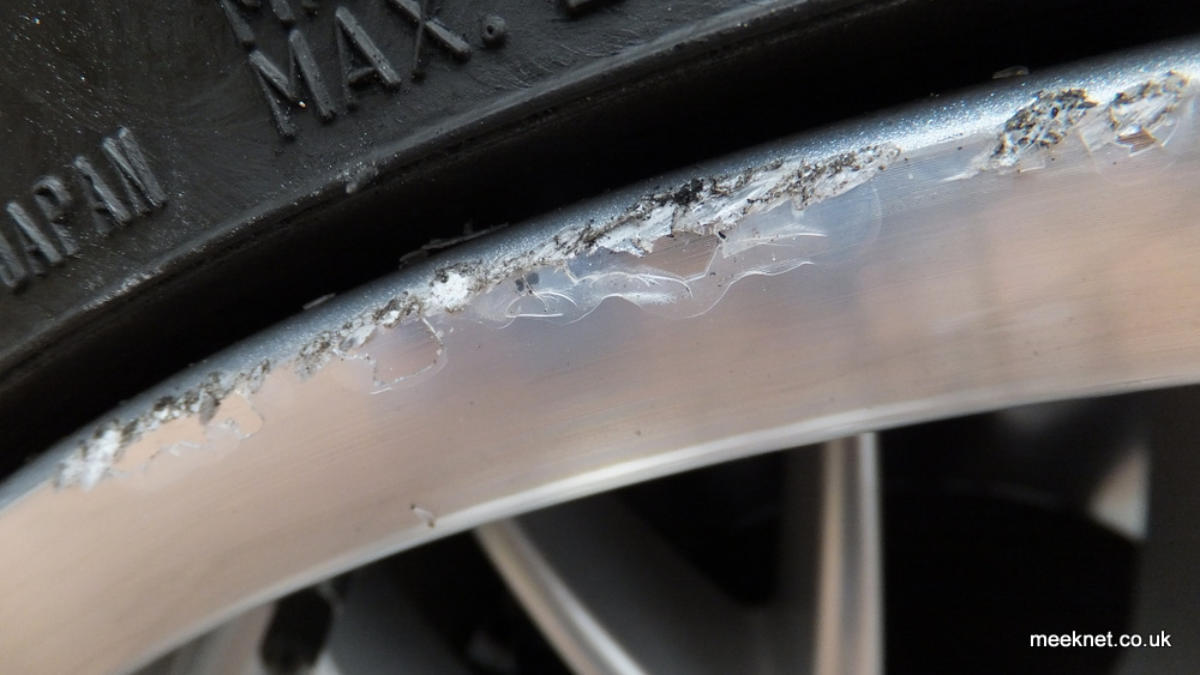
Look at the state of that! A close look when I got home showed all sorts of damage, the lacquer is flaking off and the metal of the rim is
seriously scrunched. I could get it refurbished, but I worry that it will end up looking different to the rest - so, I'm having a stab at a
temporary fix until they all need doing.


Timm's One-Hour Alloy Wheel Kerb Rash
Removal
Not Again ! I hate kerbing my alloys, I don't do it often but when I do I seem
to make an awful mess of them. Just a little bit too close to the kerb while
doing 1 MPH and scrunch - blast!
But, we are going to start with a Whetstone - these are available in various
grades and this one is big, and very coarse:
The handy thing about Whetstones is that they wear quite quickly - and that
means that they end up sculpted to the shape of the alloy after a few rubs and
that helps get the shape of the alloy rim back. Here we go, to keep the stone
lubricated I've got a bucket of water with washing-up liquid in it - this also
helps remove debris:
I started by masking off the tyre, but soon gave up with that when it kept
falling off. Initially, the stone is used to remove the big flakes so that the
surface will allow the stone to move smoothly around the edge of the rim
rather than clouting into lumps of alloy.
If you only have small gouges, use the masking tape from the headlight
kit to protect the rest of the rim as seen below:
Once the big lumps have gone I used the wetted stone around the rim and
slowly the stone took up the shape of the rim:
I kept the stone lubricated and wet all the time and just worked around the
damaged part of the rim until it was reasonably flat.
I've taken quite a lot of metal off, but it only took five minutes with the
Whetstone. The rim still has a few marks - the last time I did this I was so glad I
had got this far that I didn't try and get rid of them - but this time I'm going to
use a reciprocating sander - this is probably the only use I've found for it
so far, it is absolutely useless at most things:
I'm using quite a coarse paper, probably 200 grit - but I'm also using a little
water and lubricant. It is an excellent tool for getting right to the edge of the
rim - the end result was very flat face and edge of the rim, just what was
needed. The next stage is get a bit of shine back on the face as any slight brush
with the reciprocating tool really scoured it up:
Now it is time to use the headlight polishing kit - the kit is cheap, available
anywhere and contains various abrasive pads, 400, 800, 3000 grit and a
polishing pad. I'm using a 3M kit from Ebay
So, start off with the 800-grade paper (the white one above), no need for the
coarser pad as the reciprocating tool got rid of all the tiny gouges - we are now
just interested in polishing the rim back from dull grey. I'm using a mains-
powered drill for this, the battery ones are just too slow for polishing. The real
transition happens when the Trizact pad (3000 grit) is used - everything ends
up polished, in fact, the metal ends up just a bit too shiny and makes the
transition point noticeable:
The last pad is the foam pad, this is used with the polishing compound which
goes absolutely everywhere - all over the car, your face, and everything within
20 yards. The pad is soft and can be used over the complete rim of the alloy as
it only adds polish and doesn't remove any metal. The pad will get black from
the alloy so give it a wash now and again.
Once the rim is as good as it is going to get, it is time to add some protection
and a little texture with some lacquer. As it is a cold day I have heated up the
aerosol in the kitchen sink with some hot water - and I've got a fan heater to
warm the rim up and to speed up the drying time so that I can get three coats
of lacquer within my allotted 1-hour time
Above is the usual mess I generate whenever I do any work, the picture does
not do the mess justice, the 650i on the right is covered with blobs of polish
including the soft-top, and that's not going to be easy to clean! Anyway, using
the fan-heater I managed to get three coats done in around 10 minutes - so,
all done!
And that's it, done, and not too shabby if I say so myself. It is not absolutely
perfect, but the rim polishing really hides the imperfections well - and that's
the trick to this - get the rim polished to a mirror shine. The lacquer helps
dull the rim so that it matches the rest of the alloy. And, all done within an
hour! Below is the rear I did last time:
All done, time for a cup of tea
Update 2018 - 3 years later
- still looking just as good, no
need for a refurbish
Tools used in this article listed
below:


I've done this once before and it worked out OK, not perfect but close enough,
I'm aiming to get it a bit better than last time. My secret weapon is a plastic
headlight refurbishing kit - yes, really!


Look at the state of that! A close look when I got home showed all sorts
of damage, the lacquer is flaking off and the metal of the rim is seriously
scrunched. I could get it refurbished, but I worry that it will end up
looking different to the rest - so, I'm having a stab at a temporary fix
until they all need doing.


DASH CAM